Set Up Your Containerized Development Environment
This is a tutorial to set up a fully functional development environment in a Docker container. The containarized development environment includes all the necessary tools and dependencies needed to develop content in the demisto/content repository.
Requirements#
The following must be installed on the host machine as described in System Requirements:
Suggested host requirements are specified in devcontainer.json:
- 4 CPUs
- 8GB of memory
- 32GB free disk space
You also need a forked/cloned content repository on the host machine.
Installation#
Install Docker, Visual Studio Code, and the Dev Containers extension, following the installation instructions on the Visual Studio Code website.
Open the Repository in Visual Studio Code#
- In Visual Studio Code, go to File > Open Folder.
- Select the cloned/forked repository.
- Create a new branch that will be used for the work.
Open the Dev Container in Visual Studio Code#
In Visual Studio Code, click the green button:

Click Reopen in Container. Alternatively, open the command prompt (CMD + Shift + P) and search for Reopen in Container.
It may take a few minutes until the dev container is ready.
Usage#
Once the dev container is ready, a new Visual Studio Code window opens and the content repository is available:
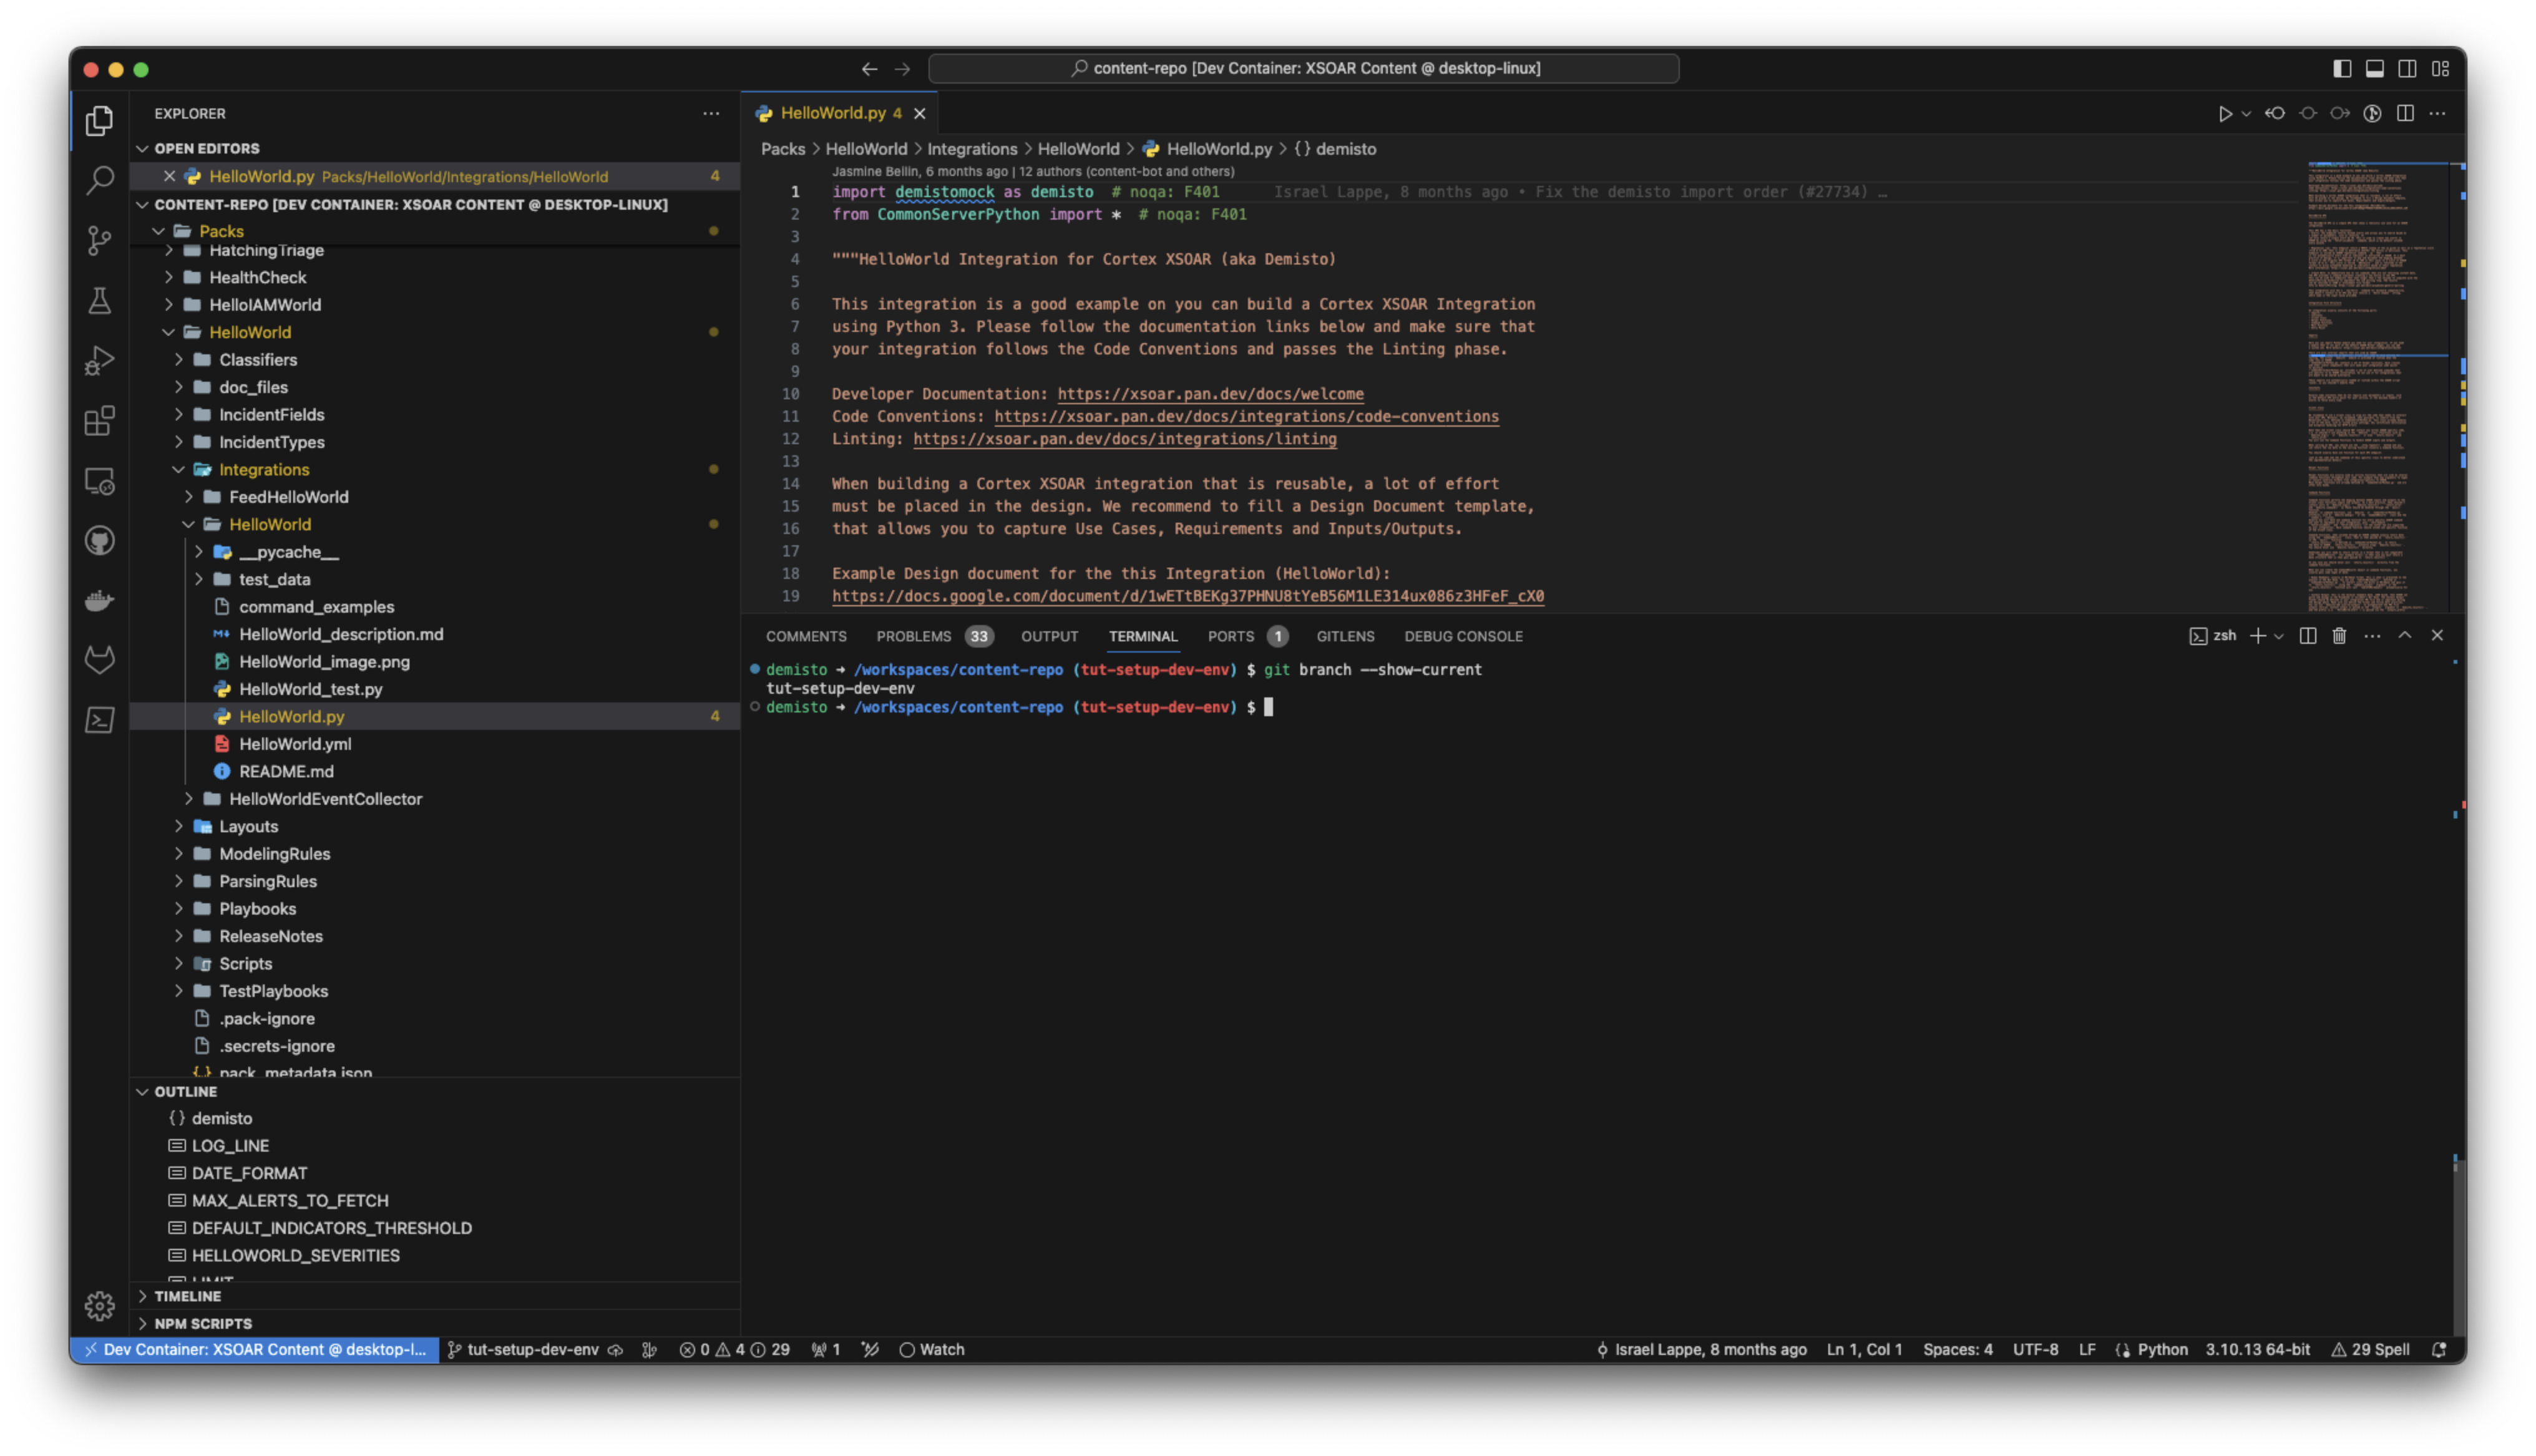
The environment contains demisto-sdk, zsh, git, pyenv, poetry, preinstalled system and Python dependencies, and recommended extensions, including the Cortex XSOAR Visual Studio Code Extension.
Read more about the Cortex XSOAR Visual Studio Code Extension to get started with our features.
Troubleshooting#
If there are errors in opening the dev container, try the following:
- Update Docker.
- Run the following command to clean up Docker:
docker system prune -a --volumes